To master Archer Towers in Clash of Clans, you'll need to grasp their versatile defense capabilities and best placement. Available from Town Hall 2, these towers target both ground and air units, delivering high damage with each shot. For effective defense, position them strategically near key structures and employ troop synergy. Focus on early upgrades to capitalize on increased damage and durability, and explore upgraded modes from Town Hall 8. Offensively, pinpoint and eliminate Archer Towers early for a tactical edge. Effective resource management and analyzing base layouts will elevate your gameplay; explore further to uncover deeper strategies.
Key Points
- Archer Towers engage both ground and air units, making them versatile defensive structures.
- Upgrading Archer Towers early enhances their damage output and overall effectiveness in defense.
- Strategic positioning of Archer Towers is crucial for optimizing their defensive capabilities.
- Geared-up Archer Towers at higher levels can double their damage, providing a significant defensive boost.
- Analyzing base layouts and positioning troops strategically are essential for countering enemy Archer Towers.
Archer Tower Basics
When you first access the Archer Tower at Town Hall 2, it quickly becomes a cornerstone of your defensive strategy. Its targeting range extends further than Cannons, allowing it to engage both ground and air units effectively. The Archer atop the tower deals more damage than regular Archers, contributing significantly to the defense mechanism.
Prioritize its defensive placement to maximize coverage and protect key structures. Positioning near the center, but with a clear line of sight, leverages its long range. Data shows that strategic placement reduces vulnerability to Balloon attacks and enhances overall base resilience.
Analytical insights suggest upgrading Archer Towers early to capitalize on their versatility and damage output. Mastering these basics ensures your defenses are strong, providing a solid foundation for future upgrades and tactical advancements.
Defensive Strategies
How can you guarantee your base stands strong against enemy raids? Focus on strategic positioning of your Archer Towers to maximize coverage. Place them near key structures to utilize troop synergy, ensuring they can defend against both ground and air units. Efficient resource management is essential—prioritize upgrading Archer Towers as they offer versatile defense. Be mindful that geared-up Archer Towers in Fast Attack mode can significantly enhance your defense by doubling their damage output.
Your base layout should funnel attackers into kill zones covered by multiple Archer Towers, boosting their damage potential. By integrating these towers with other defenses like Wizard Towers and Cannons, you create layers of protection that can thwart diverse attack strategies. Master these elements, and your base will become a formidable fortress against any adversary.
Offensive Tactics
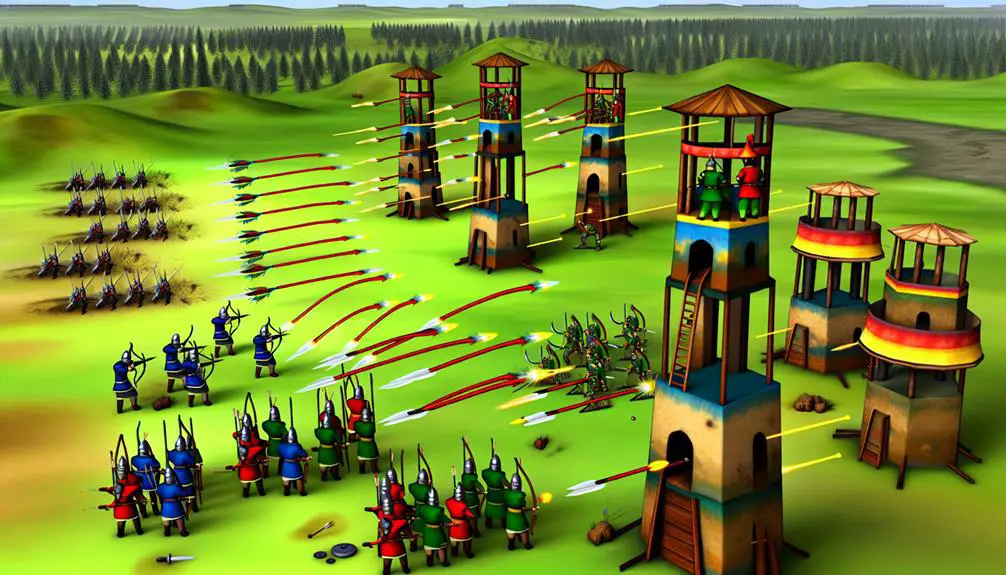
To effectively dismantle enemy defenses, prioritize targeting Archer Towers early in your raid. Position your troops strategically to exploit weak points, utilizing flanking maneuvers to hit Archer Towers from multiple angles.
Guarantee your troop positioning maximizes damage output while minimizing exposure to enemy fire. Implement distraction tactics with tanky units to redirect Archer Tower fire away from your primary damage dealers.
By influencing enemy pathing, you can force defenses to target less critical units, preserving your main forces. Analyzing the base layout for prime entry points and weak links will provide a tactical advantage.
Executing these methods with precision assures a higher success rate in dismantling Archer Towers, paving the way for a successful raid.
Evolution and Upgrades
Curious about how Archer Towers evolve and become more formidable as you progress in Clash of Clans? Initially, you'll notice visual enhancements with each upgrade, reflecting their increased strength.
As you invest in cost progression, the damage output and hitpoints of your Archer Towers rise significantly. Gearing up at Town Hall 8 transforms them into formidable Fast Attack mode, doubling their damage output for quick eliminations.
Each upgrade level brings distinct visual changes, signaling their enhanced capabilities. Analyzing the stats, you'll find a clear trajectory of improvement in damage per second and durability. Mastering these upgrades ensures your base is defended by robust Archer Towers, ready to counter both ground and air threats effectively.
Frequently Asked Questions
How Does the Archer Tower's Cost Change With Each Upgrade Level?
When you upgrade an Archer Tower, costs rise with each level, hitting your wallet harder. For a solid defensive strategy, prioritize efficiency and best placement. Higher levels enhance both damage and durability, maximizing your base's resilience.
What Are the Visual Differences in Archer Towers Between Different Upgrade Levels?
You'll notice design variations at each upgrade level, reflecting increased power and sophistication. As you progress, upgrade costs rise, but the visual enhancements and boosted defensive capabilities make the investment worthwhile for strategic dominance.
Can Archer Towers Be Moved After Being Placed in the Home Village?
Yes, you can move Archer Towers after placement in your Home Village. This flexibility allows you to adapt defensive strategies and optimize placement based on upgrade options, ensuring stronger defense against various attack types.
How Does the Fast Attack Mode Affect the Archer Tower's Firing Rate?
Activating Fast Attack mode doubles the Archer Tower's firing rate, enhancing its defensive strategy. This reduces targeting range but boosts accuracy, making it essential to your base layout for rapid enemy elimination.
What Resources Are Needed to Gear up an Archer Tower for Fast Attack Mode?
Gearing up an Archer Tower for Fast Attack mode is like arming a knight with a rapid-fire crossbow. You'll need gold, elixir, and a Master Builder. Upgrade costs rise, but the visual upgrades make it worthwhile.
