To master the Multi Mortar in Builder Base, place it centrally to maximize its coverage and minimize blind spots. This positioning disrupts enemy troop breaches efficiently. The Multi Mortar excels in eliminating support troops from a distance, firing 3-5 shells per blast. Pair it with high-damage defenses like the Crusher to handle close-range threats. Upgrading it boosts its DPS, hitpoints, and overall damage effectiveness, especially against grouped targets. Test different base layouts to ensure best synergy and defense. Keep an eye on historical updates too—they offer essential insights into mastering this potent defensive structure. Discover advanced strategies and maximize your defenses.
Key Points
- Place the Multi Mortar centrally to maximize coverage and protect against enemy troop breaches.
- Pair the Multi Mortar with high-damage defenses like the Crusher for optimal effectiveness.
- Upgrade the Multi Mortar to boost damage, hitpoints, and overall defensive capabilities.
- Use Army Camps to test base configurations and identify blind spots in Multi Mortar coverage.
- Recognize the unique sound effect of the Multi Mortar to strategically react during battles.
Building Overview
At Builder Hall level 5, you'll access the Multi Mortar, a formidable defensive building in the Builder Base. It fires 3-5 mortar shells per blast, delivering medium damage over a large splash radius. Central placement is essential for maximizing its effectiveness, allowing you to cover a wide area and implement effective targeting tactics.
Range management is key; the Multi Mortar has a large range but can't hit close-range units. To optimize its potential, focus on support troop targeting, such as Sneaky Archers and Cannon Carts. This guarantees you eliminate threats before they can exploit the Multi Mortar's minimum range weakness.
Mastering these elements will significantly enhance your defensive capabilities.
Defensive Strategies
When developing defensive strategies for the Multi Mortar, central placement within your base is crucial. This maximizes area coverage, making it harder for enemy troops to breach your defenses.
By positioning the Multi Mortar centrally, you maximize its range and effectiveness against troop targeting, especially when dealing with support units like Sneaky Archers and Cannon Carts. Pairing it with high-damage defenses like the Crusher can further enhance your base's resilience.
Analyze your base layout to make sure there are no blind spots where enemy troops can exploit the Multi Mortar's minimum range. Test different configurations, considering the placement of Army Camps for distraction, to find the most efficient combination, ensuring your base remains impervious against varied attack strategies.
Upgrades and Statistics
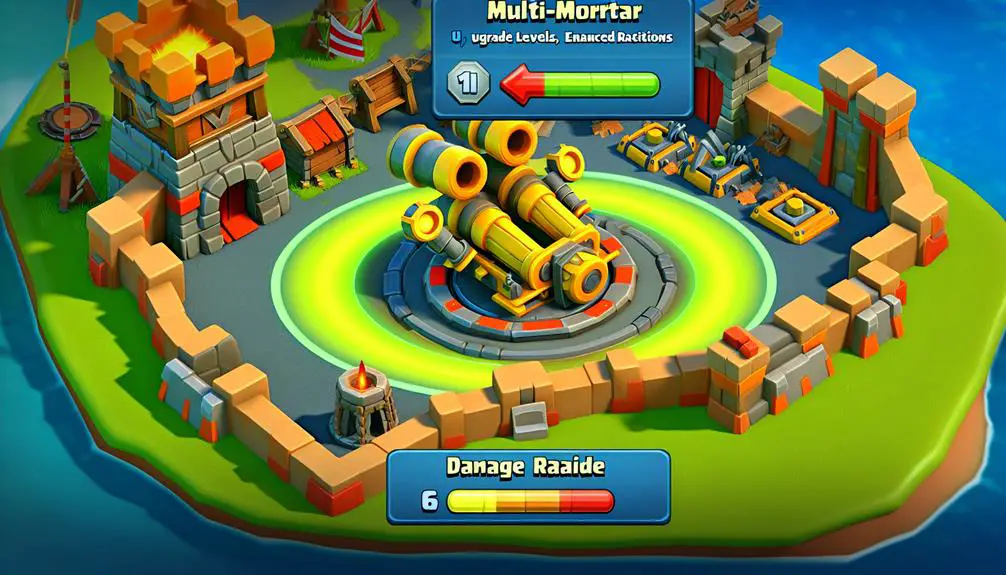
Upgrading your Multi Mortar can greatly bolster your base's defensive capabilities, making it a pivotal asset in your strategy. As you progress, visual enhancements reflect its growing power, from wooden to metal structures.
In Clash of Clans, pairing heroes like Archer Queen with defensive structures can create powerful synergies. Key statistical improvements include:
- Damage Per Second (DPS): Each upgrade boosts DPS, enhancing overall damage output against grouped enemies.
- Hitpoints: Increased hitpoints with each level make the Multi Mortar tougher to destroy, ensuring prolonged defense.
- Range: While the range remains constant, its effectiveness scales with enhanced damage types.
- Damage Types: Upgraded Multi Mortar shells inflict more substantial splash damage, effective against clustered troops.
Focus on upgrade progression to maximize these statistical benefits and transform your Multi Mortar into a formidable defensive powerhouse.
History and Trivia
The Multi Mortar's evolution in Clash of Clans showcases a rich history of updates and strategic refinements, reflecting its importance in defensive gameplay. Initially introduced on May 22, 2017, the Multi Mortar brought a distinctive edge to base defense with its initial firing shots and unique sound effect.
Over time, levels 6 to 10 were added, enhancing its firepower and resilience. Key updates included hitpoints adjustments to balance its defensive capabilities. The unique sound effect of the Multi Mortar's shots not only adds to its tactical presence but also serves as an auditory cue for players to react strategically.
Understanding these historical updates and trivia helps you master defensive strategies, ensuring best use of the Multi Mortar in your Builder Base.
Frequently Asked Questions
How to Effectively Counter Multi Mortar Without Air Units?
To counter Multi Mortar without air units, use ground troop strategies like spreading out your troops to minimize splash damage. Distract it with tanks like Boxer Giants. Analyze its defensive building placement to exploit its close-range weakness.
Can Multi Mortar Target Both Ground and Air Troops Simultaneously?
Why wouldn't you use the Multi Mortar strategically? It can't target both air and ground troops simultaneously. Focus your base layout on smart Multi Mortar placement and timing to maximize its splash damage against ground units.
What Are the Best Troop Compositions to Avoid Multi Mortar Damage?
To avoid Multi Mortar damage, use air strategies with fast units like Beta Minions. For ground strategies, deploy tanky troops such as Boxer Giants to distract, while fast units like Sneaky Archers take down defenses efficiently.
Is There a Cooldown Period Between Multi Mortar Upgrades?
Wondering about the Multi Mortar upgrade timing? There's no cooldown period between upgrades. Plan your strategy carefully, ensuring you have the necessary upgrade cost and resources ready. Efficient resource management is key to maintaining defensive strength.
Does the Multi Mortar's Splash Damage Affect Shielded Units Differently?
The Multi Mortar's splash damage doesn't affect shielded units differently; the mechanics treat all troops the same. Its effectiveness lies in targeting groups, so spread your troops to minimize damage, regardless of shields.
