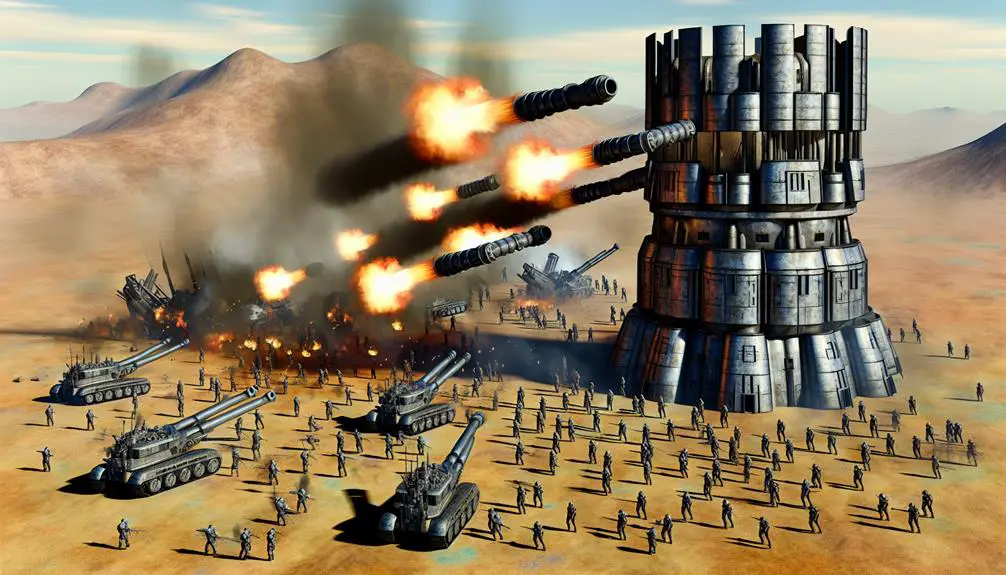
Deploy the Explosive Bomb Tower at Town Hall level 8 and witness it obliterate enemy ground troops with stunning splash damage! Strategically position it where ground troops converge for optimal destruction. Combine it with Mortars to establish a solid defense. Protect your crucial Air Defenses and counter Witch-based armies with impressive coordination. Although it is susceptible to Minions or Dragons, enhancing it through upgrades improves durability and aesthetic appeal. Every upgrade increases its fighting capabilities, turning it into a crucial asset for your base. Keep an eye out to perfect tactical placements and strengthen your base in a whole new way!
Key Points
- Access Bomb Tower at Town Hall level 8 for devastating splash damage to ground troops.
- Pair Bomb Tower with Mortars for incredible defensive synergies against swarming ground troops.
- Bomb Tower is ineffective against air units, making it vulnerable to Minions or Dragons.
- Upgrading Bomb Tower increases hitpoints and splash damage, fortifying your base.
- Place Bomb Tower near key Air Defenses to safeguard against diverse attack strategies.
Bomb Tower Overview
When you first access the Bomb Tower at Town Hall level 8, you're getting a powerhouse of defense that deals devastating splash damage to ground troops. Its placement is essential for ideal defensive positioning, ideally where ground troops are expected to swarm.
Pair it with Mortars for incredible defensive synergies, creating layers of protection that are hard to penetrate. However, don't forget it's ineffective against air units, making it vulnerable to offensive counters like Minions or Dragons.
To maximize its impact, use it to guard Air Defenses and disrupt Witch-based armies. Your offensive tactics should involve using tank units to absorb its damage and spreading out ranged troops to minimize splash impact. Additionally, consider the enraged damage capabilities of Baby Dragons when planning your attacks.
Master this, and you'll dominate the battlefield.
Strategic Deployment
Unleashing the full potential of your Bomb Tower involves mastering its strategic deployment within your base. For best defensive positioning, place it where ground troops are most likely to funnel through. This ensures maximum area damage and effective troop interactions. Safeguard key Air Defenses by placing the Bomb Tower nearby, establishing building synergies that deter Witch-based armies.
Upgrading requires resources and a free Builder or Hammer of Building, so plan your upgrades accordingly to maintain your defenses.
When considering offensive tactics, be mindful of the Bomb Tower's limitations against air units. Utilize tank units to absorb its damage while spreading out ranged troops to minimize its area impact. Defensive positioning isn't just about placement but also about creating a layered defense that complements your Mortar and other area-damage buildings, crafting a robust, impenetrable base structure that excels in both offense and defense.
Upgrade Path

Upgrading your Bomb Tower is crucial to maintaining a formidable defense. As you progress, each upgrade brings significant defensive enhancements that can turn the tide of battle.
You'll gain increased hitpoints, which means your tower can withstand more damage before exploding, and improved splash damage capabilities, guaranteeing that enemy ground troops are decimated more effectively.
The visual changes with each upgrade also add a fierce look to your defenses, signaling strength to your opponents.
The upgrade benefits don't stop there; enhanced synergy with your Air Defenses means your base will be better fortified against diverse attack strategies.
Pursuing these upgrades strategically guarantees that your Bomb Tower remains a cornerstone of your defense, optimizing your base's overall resilience.
Historical Evolution
Since its introduction, the Bomb Tower has undergone a fascinating transformation that has kept players on their toes. The evolution timeline reveals a series of strategic design changes aimed at improving its effectiveness. Initially a simple splash damage dealer, the Bomb Tower's design changes over various updates have enhanced its visual appeal and defensive capabilities.
Each upgrade level introduced significant improvements, aligning with evolving gameplay tactics. From its early, rudimentary form to the advanced structure you see now, the Bomb Tower has adapted to counter new threats, especially ground-based strategies. These changes not only kept the Bomb Tower relevant but also made it an essential part of defensive setups, ensuring you stay ahead in the game.
Frequently Asked Questions
How Does the Bomb Tower Interact With Heroes Like the Archer Queen?
You'll find the Bomb Tower provides great synergy with the Archer Queen. It distracts ground troops, allowing her to wreak havoc. Their interactions guarantee a robust defense, making heroes struggle while your Queen snipes from a distance.
Can the Bomb Tower's Explosion Damage Friendly Troops?
Imagine a chessboard where pieces protect each other. The Bomb Tower, like a stalwart rook, doesn't harm its allies. You can safely place the Archer Queen nearby without fearing friendly fire. It's all about strategic positioning.
Does the Bomb Tower Target the Clan Castle Troops First?
The Bomb Tower doesn't prioritize clan castle troops first. Understanding clan castle dynamics and counter strategies is essential. Use tank units to absorb its damage and spread out your ranged troops to minimize splash damage. Engage strategically!
Are There Any Specific Troop Combinations That Neutralize Bomb Towers Efficiently?
You can efficiently neutralize Bomb Towers with specific troop combinations. Use air units like Balloons or Dragons as troop counters. For ground strategies, deploy tank units first, then spread out ranged units. Optimize building placement and defense synergies.
How Does the Bomb Tower Affect Overall Base Layout Design?
Your Bomb Tower's base positioning is pivotal for an effective defensive strategy. Position it to synergize with the Archer Queen, disrupting enemy attack patterns. This placement deters ground troops and complements overall defenses, enhancing your base's resilience.
