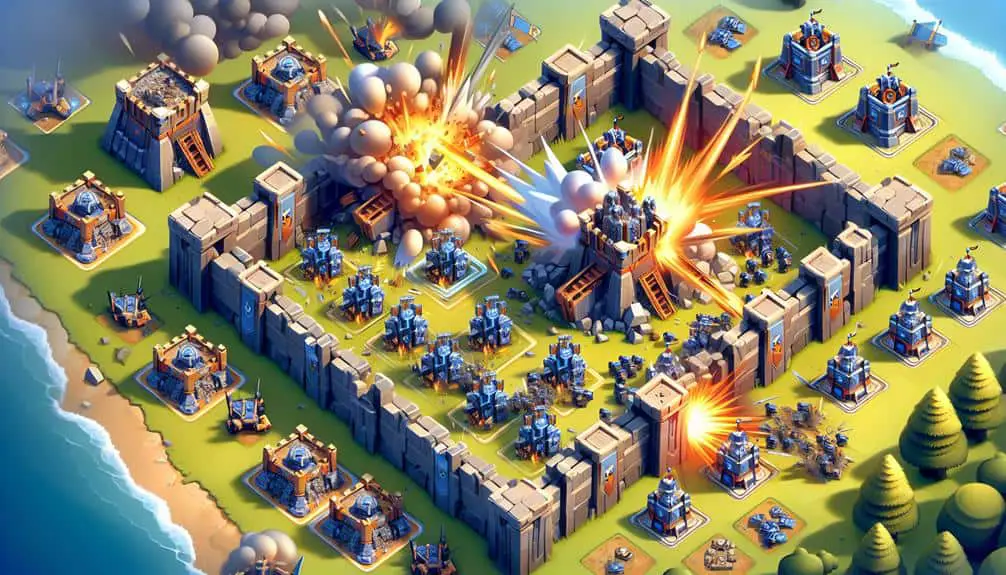
Mastering precise Wall Breaker placement in Clash is essential for breaching enemy defenses effectively. Timing and positioning them strategically can create entry points for your troops. Identifying the shortest path to targeted walls and selecting the right targets enhance breach efficiency. To optimize their effectiveness, consider their proximity to defensive structures and choose paths with the fewest walls. Advanced tactics like diversion and funneling can distract defenses and improve Wall Breaker efficiency. Understanding these key factors can greatly impact the success of your raids and lead you to victory. There are even more strategies to enhance your Wall Breaker skills.
Key Points
- Wall Breakers create entry points for troops, crucial for overcoming defensive walls.
- Proper placement and timing are essential for breaching walls efficiently.
- Understanding pathing obstacles helps reach the core effectively.
- Wall Breakers play a vital role in raid success and strategy.
- Mastering deployment strategies improves raid tactics significantly.
Importance of Wall Breaker Placement
When planning your Clash strategies, the critical placement of Wall Breakers can be the deciding factor between a successful raid and a failed attack. Defensive wall strategies are formidable obstacles that can hinder your progress in raiding enemy bases. Your offensive breakers play a vital role in overcoming these barriers.
Understanding pathing obstacles is key; identify the shortest distance to the core of the base while avoiding potential traps or high defensive concentrations. Breaking barriers efficiently is essential to create entry points for your troops, allowing for a smoother and more effective raid.
Strategic Wall Breaker Deployment
To optimize your Wall Breaker deployment in Clash, strategic placement is essential for breaching enemy defenses effectively and creating pathways for your troops to advance. Timing plays a vital role in deploying Wall Breakers. Wait for defenses to target other units or distract the enemy's attention; this will allow your Wall Breakers to reach the desired walls without being targeted.
Positioning is equally important. Place Wall Breakers where they've a clear path to the walls without obstacles in their way. Mind games can also be employed when deploying Wall Breakers. By sending a small group of troops to one side of the base and Wall Breakers to another, you can confuse the enemy and potentially catch them off guard.
Baiting can be used to manipulate the enemy's defenses. By pretending to target one section of the wall and then quickly redirecting your Wall Breakers to another, you can trick the opponent into misplacing their defenses, giving your troops an advantage. Mastering these strategies will greatly improve your Wall Breaker deployment tactics in Clash.
Key Factors for Wall Breaker Pathing
Enhancing the pathing of your Wall Breakers in Clash involves meticulous consideration of various key factors to ensure successful breach of enemy walls. When planning the pathing of your Wall Breakers, several pathing considerations come into play. To start with, understanding the best routes to the enemy walls is essential. Identify the shortest path that leads directly to the targeted wall segment, minimizing the chances of your Wall Breakers veering off course.
Positioning tips also play a significant role in ensuring effective Wall Breaker pathing. Placing your Wall Breakers close to the desired target wall segment increases the likelihood of a successful breach. Remember to account for potential distractions that may divert their path, such as defensive structures or other enemy units.
Moreover, target selection is key. Prioritize walls that lead to critical enemy structures or compartments to maximize the impact of your Wall Breakers. By strategically analyzing the pathing considerations, implementing precise positioning tips, and selecting the best routes, you can enhance the efficiency of your Wall Breakers in Clash.
Optimizing Wall Breaker Efficiency
Boosting Wall Breaker effectiveness in Clash depends on strategic positioning and accurate target prioritization to guarantee maximum breach success rates.
When deploying Wall Breakers, timing is essential. Wait for distractions like enemy troops or heroes to engage before sending them in. This delay can prevent them from being targeted and destroyed prematurely.
Additionally, consider their positioning in relation to defensive structures. Place them where they can target walls directly without veering off course towards other structures.
Path selection is another critical aspect. Choose the path that offers the fewest walls to break through, maximizing their efficiency. Avoid sending them on paths that lead to dead-ends or areas with multiple layers of walls.
Advanced Wall Breaker Tactics
Implementing strategic placement techniques can greatly enhance the effectiveness of Wall Breakers in Clash battles. Advanced Wall Breaker tactics involve utilizing diversion tactics and funneling strategies to maximize their impact on enemy defenses.
To execute successful diversion tactics, deploy a small group of troops, such as Barbarians or Archers, to distract defensive structures while the Wall Breakers target the walls. This method helps guarantee that the Wall Breakers reach their intended target without being immediately targeted by defensive buildings.
Additionally, employing Wall Breaker funneling strategies involves creating a clear path for the Wall Breakers by eliminating surrounding buildings that could divert their path. By strategically removing outer structures, you can direct the Wall Breakers towards the core of the enemy base, where they can break through key walls more efficiently.
Mastering these advanced Wall Breaker tactics will give you a significant advantage in Clash battles, allowing you to breach enemy defenses with precision and finesse.
Frequently Asked Questions
How Can Wall Breakers Be Used Effectively in Different Types of Clash Attacks, Such as Farming, Trophy Pushing, and War Attacks?
In different types of Clash attacks, like farming, trophy pushing, and wars, wall breakers play a crucial role. Utilize them with precision for ideal Wall Breaker synergy and strategic positioning. Manage resources efficiently to maximize elixir usage.
What Are Some Common Mistakes to Avoid When Using Wall Breakers in Clash?
When using Wall Breakers in Clash, focus on Wall Breaker timing, positioning, funneling, and efficiency. Avoid common mistakes like premature deployment, improper funneling, neglecting defenses, and inefficient paths. Mastering these aspects enhances your attacks.
Are There Specific Base Layouts or Designs That Make Wall Breaker Placement More Challenging or Easier?
When it comes to base layouts and designs affecting wall breaker placement, the key is strategy. Efficiently maneuvering through walls requires analyzing your opponent's defenses. Learning to adapt and anticipate their layout can make or break your attack.
How Do Factors Like Clan Castle Troops, Hero Abilities, and Traps Impact Wall Breaker Pathing and Deployment Strategies?
When considering factors like clan castle troops, hero abilities, and traps, you must strategize wall breaker pathing to navigate defenses effectively. Prime deployment strategies hinge on understanding defensive structures and planning around potential interactions.
Can Wall Breakers Be Used in Combination With Other Troops or Spells to Maximize Their Effectiveness in Clash Battles?
To maximize effectiveness in Clash battles, combine Wall Breakers with troops like Giants for tanking and Wizards for damage. Use spells like Rage to boost their power. Proper synergy and strategic placement are key for success.


